A small garden pond with a fountain, rocks, and flowers, where goldfish swim among the plants.

Small Garden Ponds & Natural Pools: Step by Step Guide

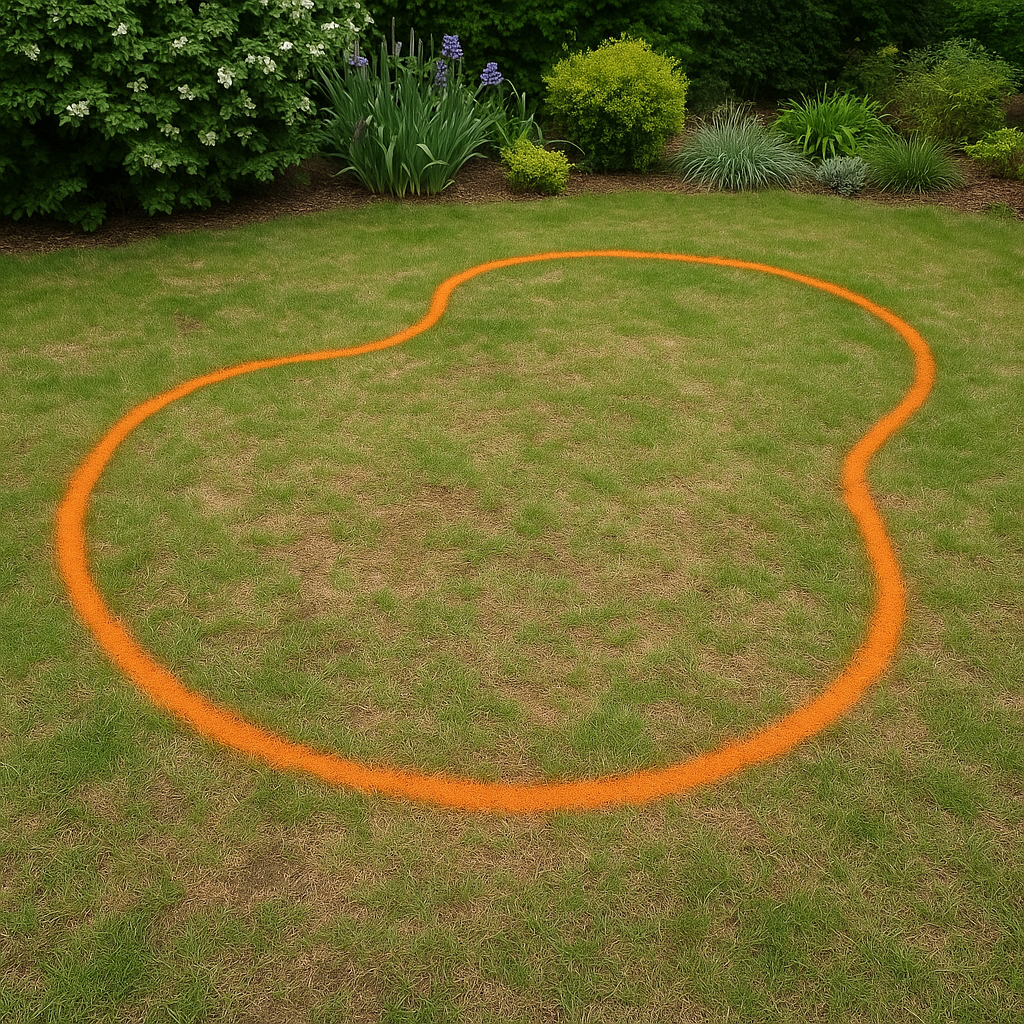
Step 1: Choose the Perfect Location

Start by selecting a sunny spot in your garden. Solar pumps and lights need direct sunlight to work efficiently, so avoid areas shaded by trees or buildings. The ideal location should get at least 6 hours of sunlight daily. Also, pick a place away from overhanging branches to reduce leaf debris falling into your pond.

A patch of grass with an irregular orange line, surrounded by green plants, shrubs, and hints of small garden ponds nearby.

Step 2: Decide on Pond Type and Size

You have two main options:

  • Flexible Liner Pond: Custom shape, dug directly into the ground, lined with a waterproof liner.
  • Pre-Moulded Pond: A rigid, ready-made pond shell in various shapes and sizes.

If you want an easier and quicker installation, a pre-moulded pond is a great choice. Simply dig a hole to fit the mould, level the base, and place the pond shell inside.

Choose a pond size that fits your space but also supports aquatic life. For example, a 500-liter pond is suitable for about 10 small fish like goldfish.

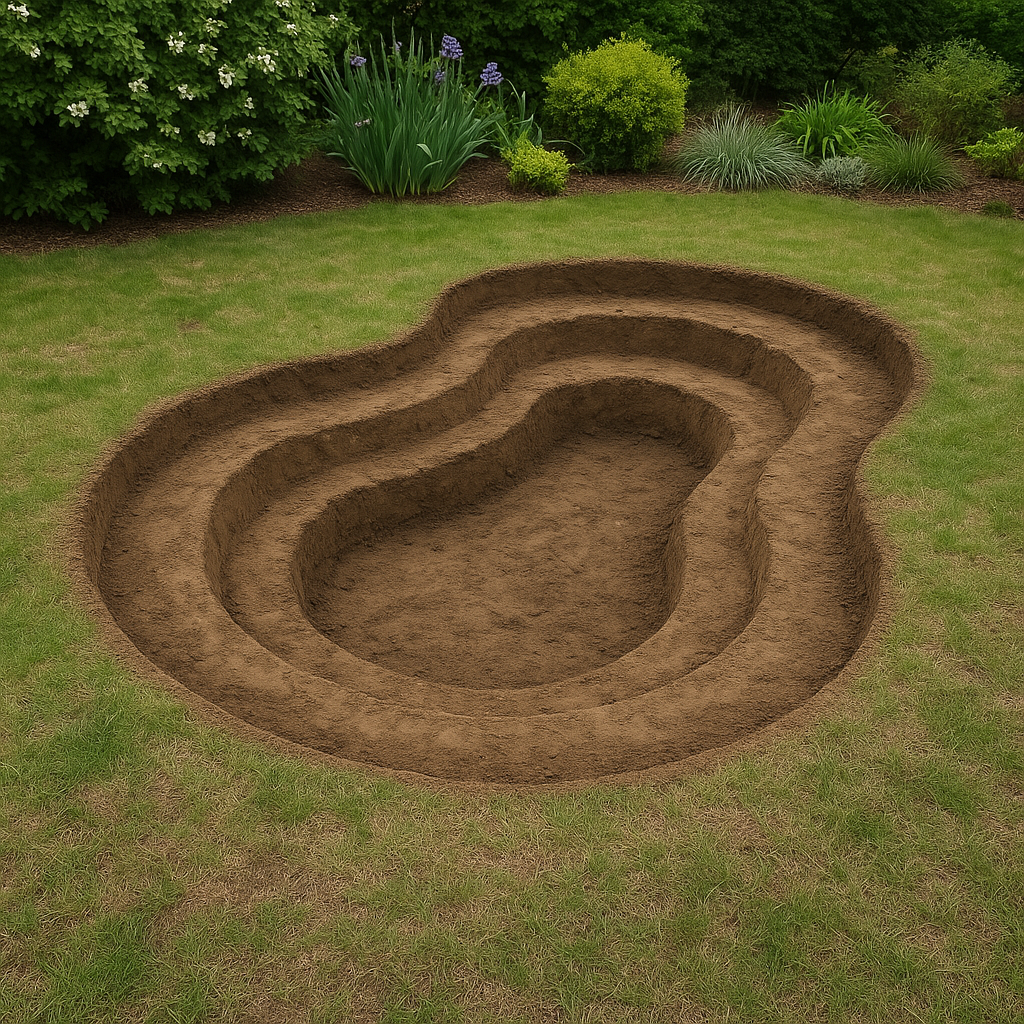
Step 3: Prepare the Pond Base

For a pre-moulded pond, dig the hole slightly larger and deeper than the mould to allow for leveling and bedding material like sand. Make sure the base is flat and free of sharp stones or roots.

For a liner pond, dig according to your desired shape, creating shelves at different depths for plants (about 30–50 cm deep) and a deeper center (at least 60 cm) for fish to overwinter.

A three-tiered pond hole for small garden ponds, freshly dug among green plants and shrubs in a grassy garden area.

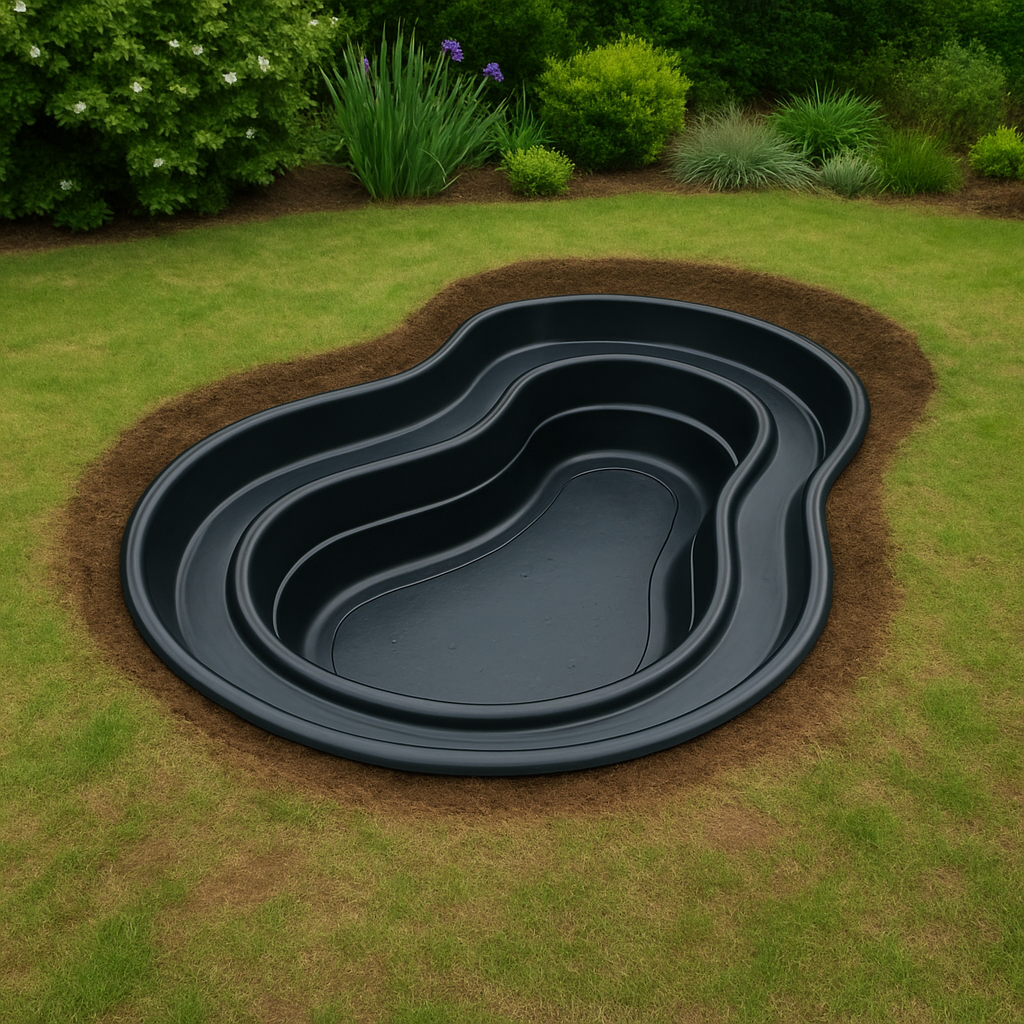
Step 4: Install the Pond Shell or Liner

  • Pre-moulded pond: Place the pond shell into the hole, check it’s level, and backfill around the edges with soil or sand to secure it.
  • Liner pond: Lay down a protective underlay, then position the flexible liner, smoothing out wrinkles. Fill the pond gradually with water, adjusting the liner as needed.
A black plastic liner for small garden ponds is partially installed in a grassy yard among green plants and shrubs.

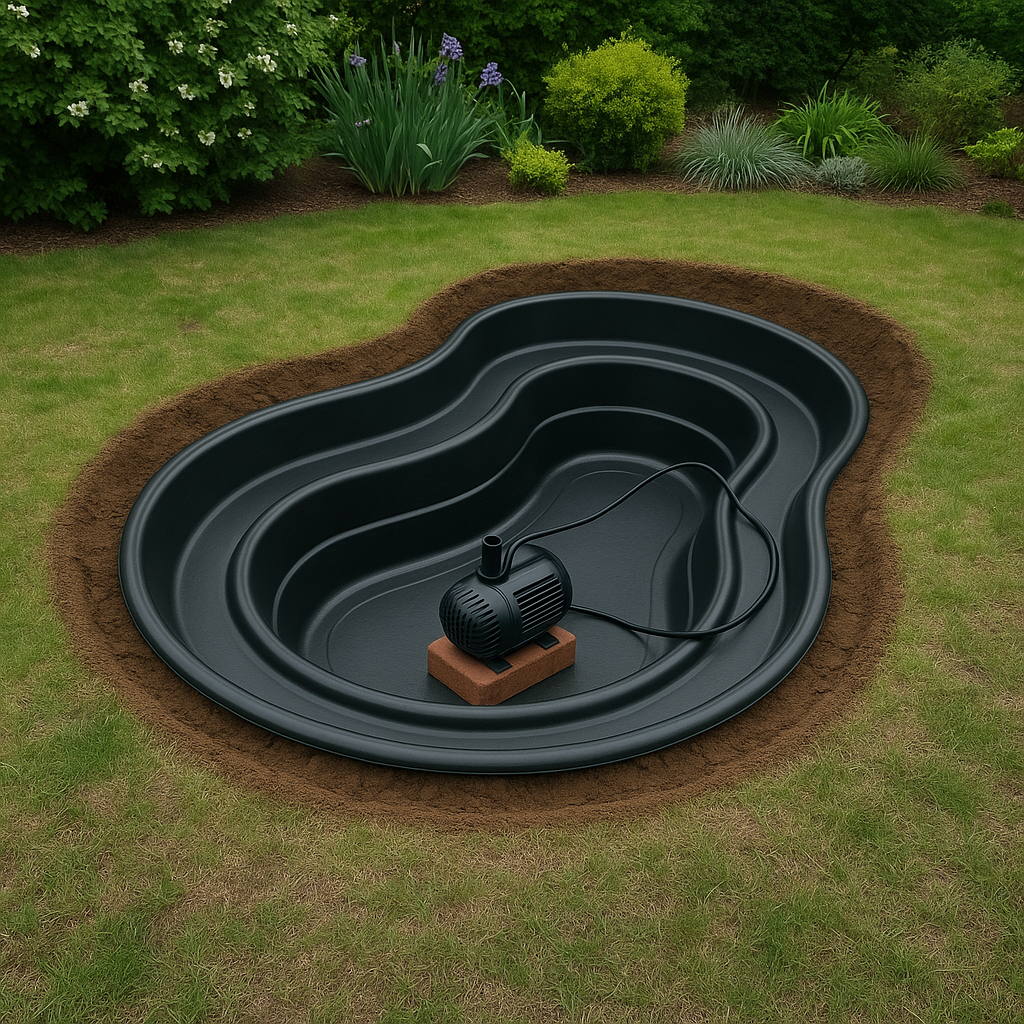
Step 5: Install the Solar Pump

Solar pumps are easy to set up and safe since they don’t require mains electricity.

  • Place the pump fully submerged on a stable surface at the pond bottom.
  • Connect the pump to the solar panel using the supplied cable.
  • Position the solar panel in a sunny spot, angled between 30–45 degrees for maximum sunlight absorption.
  • If your pump has fountain attachments, connect them now to create water features that help oxygenate the pond.

Many solar pumps include a battery backup option, allowing the pump to run during cloudy weather or at night-check your model’s features.

A black plastic pond liner and pump, perfect for Small Garden Ponds, placed in a hole in a grassy backyard garden.

Step 6: Fill the Pond with Water

Use rainwater if possible, as it contains fewer chemicals than tap water and helps maintain a balanced ecosystem. Fill the pond slowly to avoid disturbing the liner or shell. As it fills, check the edges and ensure everything stays level.

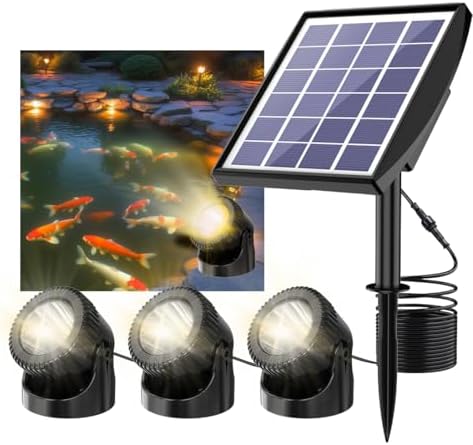
Step 7: Set Up Solar Pond Lighting

Choose waterproof, solar-powered LED lights designed for pond use.

  • Place the lights around the pond edge or underwater, depending on the model.
  • Position the solar panels where they receive direct sunlight during the day.
  • Most solar lights have sensors to switch on automatically at dusk and off at dawn.
  • Hide cables under rocks or plants for a neat appearance.

Regularly clean the solar panels and light lenses to maintain brightness.

Step 8: Add Aquatic Plants

Plants are vital for a healthy pond ecosystem.

  • Place marginal plants on shelves or in pots near the pond edges.
  • Add submerged oxygenating plants in deeper water.
  • Floating plants help shade the pond surface and reduce algae growth.

Allow plants to establish for one to two weeks before adding fish.

Common Pond Plants for Beginners

If you’re new to ponds, choosing the right plants can make your pond healthier, more attractive, and easier to maintain. Here are some of the most common and beginner-friendly pond plants, with brief descriptions and links for more information and images:

1. Waterlily (Nymphaea spp.)
The classic pond plant, waterlilies have round leaves that float on the surface and produce beautiful flowers in summer. Miniature varieties like ‘Pygmaea Helvola’ are perfect for small ponds and help shade the water, reducing algae.

Learn more and see images – RHS Waterlilies Guide

2. Marsh Marigold (Caltha palustris)
One of the first pond plants to flower in spring, marsh marigold has bright yellow blooms and grows well at the pond edge in shallow water. It’s great for attracting wildlife and adds a splash of early colour.
Learn more and see images – RHS Marsh Marigold

3. Water Forget-Me-Not (Myosotis scorpioides)
This pretty, low-growing plant produces masses of small blue flowers through spring and summer. It thrives at the pond edge and is ideal for softening the margins of small ponds.
Learn more and see images – RHS Pond Plants

4. Golden Club (Orontium aquaticum)
An easy-to-grow marginal plant with unusual yellow flower spikes and attractive bluish leaves. It adds vertical interest and works well in shallow water.
[Learn more and see images – RHS Pond Plants

5. Dwarf Water Iris (Iris pseudacorus or similar small varieties)
Irises are striking with their sword-like leaves and colourful flowers. Dwarf or compact types are ideal for small ponds and grow best at the water’s edge.
Learn more and see images – Gardeners’ World Best Pond Plants

For more beginner tips and a wider range of plant options, visit the RHS Pond Plants Guide or [BBC Gardeners’ World Best Pond Plants.

More reading:

  1. https://www.rhs.org.uk/ponds/pond-plants
  2. https://www.envii.co.uk/pond-blog-post/pond-plants-guide/
  3. https://www.gardenersworld.com/how-to/grow-plants/best-pond-plants/
  4. https://worldofwater.com/how-to-ponds/pond-plants/
  5. https://weknowwatergardens.com.au/blogs/news/essential-guide-to-water-plants-for-small-ponds-our-top-pond-plants-to-suit-petite-ponds
  6. https://www.watergardenplants.co.uk/pages/planting-a-pond-a-beginners-guide
  7. https://www.rootsplants.co.uk/collections/plants-for-small-ponds-1
  8. https://www.rhs.org.uk/ponds/wildlife-ponds

Step 9: Introduce Fish Gradually

Stock your pond carefully based on its size:

  • Allow at least 50 liters (13 gallons) of water per small fish like goldfish.
  • For example, a 500-liter pond can comfortably support about 10 small fish.
  • Avoid overstocking to maintain good water quality and fish health.
  • Introduce a few fish at a time, monitoring water conditions before adding more.

For larger fish like koi, much bigger and deeper ponds are required.

A small garden pond with a fountain, rocks, and flowers, where goldfish swim among the plants.

Step 10: Maintain Your Pond

Regular care keeps your pond vibrant and healthy:

  • Clean the pump filter and solar panels monthly.
  • Remove fallen leaves and debris from the water surface.
  • Trim back plants as needed to prevent overcrowding.
  • In winter, protect the pump and lights from freezing and keep a small hole in the ice for gas exchange if you have fish.

Frequently Asked Questions: Garden Pond Guide

Our Garden Pond Guide answers common questions on creating and maintaining a beautiful garden pond. Learn essential tips for design, planting, and care to enhance your outdoor space.

To ensure your pond pump runs efficiently, start with regular maintenance: frequently check and clean the pump intake and filter cage to remove debris, leaves, or stones that could block water flow or damage the impeller. Inspect the impeller itself-replace it every couple of years or if it spins too freely, as a worn impeller can reduce performance.
Use the largest diameter, smooth-walled hose compatible with your pump to minimize friction and maintain strong water flow; keep hose runs as short and straight as possible. Avoid oversizing your pump-choose a model that matches your pond’s actual requirements, as an oversized pump wastes energy and may need to be throttled back, which is inefficient. If your pump has variable speed settings, adjust them to meet your pond’s needs rather than running at full power constantly.
Check the water level regularly to ensure the pump is always submerged, as low water can cause it to run dry and overheat. Finally, carry out routine inspections of electrical connections and, for solar pumps, keep the solar panel clean and positioned for maximum sunlight. By following these steps, you’ll maximize both the efficiency and lifespan of your pond pump.

Using a timer for your pond pump offers several benefits, primarily related to energy savings and convenience. By running the pump only during your waking hours, you reduce electricity consumption, which can lower your energy bills by 10-25% or more depending on how many hours you cut back. Timers allow you to enjoy water features like fountains or waterfalls when you are outside, while turning off the pump overnight or during periods when the pond is less used, saving power without sacrificing enjoyment.
However, it’s important to balance savings with pond health. Continuous water circulation is crucial for filtration, oxygenation, and maintaining water quality, especially if you have fish. Turning off the pump for extended periods can lead to stagnant water, reduced oxygen levels, and accumulation of debris, which may harm aquatic life and promote algae growth. To mitigate this, some pond owners run the pump on a timer during warmer months and keep it running longer or continuously during hot weather or winter to protect fish and beneficial bacteria.
For ponds with fish, it’s recommended to avoid long pump shutdowns without alternative aeration, such as an air pump running continuously to maintain oxygen levels. Some users schedule the pump to run during daylight hours when photosynthesis occurs and turn it off at night to save energy, adjusting the timing seasonally.
In summary, a timer can make your pond pump operation more energy-efficient and convenient, but it should be used thoughtfully to ensure your pond ecosystem remains healthy. If you plan to use a timer, consider factors like fish presence, filtration needs, and seasonal changes to optimize pump run times without compromising water quality

To winterize your pond and prevent damage, start by thoroughly cleaning out leaves, debris, and dead plant material, as decomposing organic matter releases harmful gases under ice and harms water quality. Trim back dead or dying plants and remove settled debris from the pond bottom.
Install a pond net before autumn ends to catch falling leaves and reduce maintenance. Perform a partial water change (about 25–30%) to lower nitrate levels and improve water quality for overwintering fish. If you have fish, ensure the pond is deep enough (at least 60 cm) to prevent it from freezing solid, and stop feeding them once water temperatures drop below 10°C, as their metabolism slows down.
To keep a section of the pond ice-free, use a pond heater, de-icer, or aerator-this allows toxic gases to escape and oxygen to enter, which is vital for fish survival. Never break ice by force, as shock waves can injure fish; instead, melt a hole with a hot pan or use a de-icer. Maintain water circulation with a pump or bubbler if possible, and check that equipment is working properly before winter sets in.
Throughout winter, regularly check for excessive ice or snow buildup and clear it gently to let light reach submerged plants, supporting oxygen production. If you decide to shut down your pond completely, remove and store pumps and filters indoors, cap off pipes, and protect the pond with netting or a tarp.
By following these steps, you’ll protect your pond’s structure, maintain healthy water, and keep your fish and plants safe until spring.

To properly maintain your pond aerator during winter, start by cleaning the compressor or air pump box to remove dust, debris, and dead insects. Move diffuser plates or sticks from the deepest part of the pond to a shallower area-about half the maximum depth-to help keep a hole open in the ice and give fish a warmer zone. Regularly inspect and clean filters, check the compressor, and replace any worn parts as needed.
Throughout winter, check the aerator after storms and remove any snow blocking vents or the unit itself, as this can affect performance. If you notice frozen airlines, use isopropyl alcohol to clear blockages: pour a cup into the airline and run the compressor to push it through. For oil-cooled aerators left in the pond, run them continuously to prevent ice damage; if you remove the unit, store it upright in a sheltered, above-freezing location, and protect cables from damage.
Always follow the manufacturer’s instructions and inspect electrical connections for safety. By following these steps, you’ll help your aerator run efficiently and protect it from winter damage

For a wildlife-friendly pond, a size larger than 2m x 2m is recommended, with a depth of around 60 cm in the deepest part to provide suitable habitat for frogs and other wildlife. Shallow areas are important too, as many aquatic creatures thrive in water less than 30 cm deep. Deeper ponds are often needed if you plan to keep fish, to prevent freezing in winter and maintain oxygen levels

While rainwater is best for filling ponds because it contains fewer nutrients and chemicals, tap water is often used when rainwater is unavailable. However, tap water may contain chlorine or chloramine, which can harm wildlife and fish. Letting tap water stand for a day or two can help dissipate chlorine, but chloramine requires special neutralizing products. Using rainwater or treated tap water helps prevent excessive algae growth and maintains a healthy pond ecosystem.

Aim to plant around 30-40% of your pond’s surface area with a mix of submerged oxygenating plants, marginal plants, and floating plants. This balance helps oxygenate the water, provides shelter for wildlife, and controls algae by shading the water. Avoid overplanting, which can block sunlight and reduce oxygen levels. For planting shelves, allow about 30% of the pond area and include native species for the best habitat.

Green water is usually caused by microscopic algae suspended in the water. It can result from excess nutrients, sunlight, and poor water circulation. To clear green water, reduce nutrient input by avoiding overfeeding fish, remove decaying organic matter, and increase plant coverage. Installing a pump or fountain to circulate water and adding beneficial bacteria can also help maintain clear water.

Final Thoughts

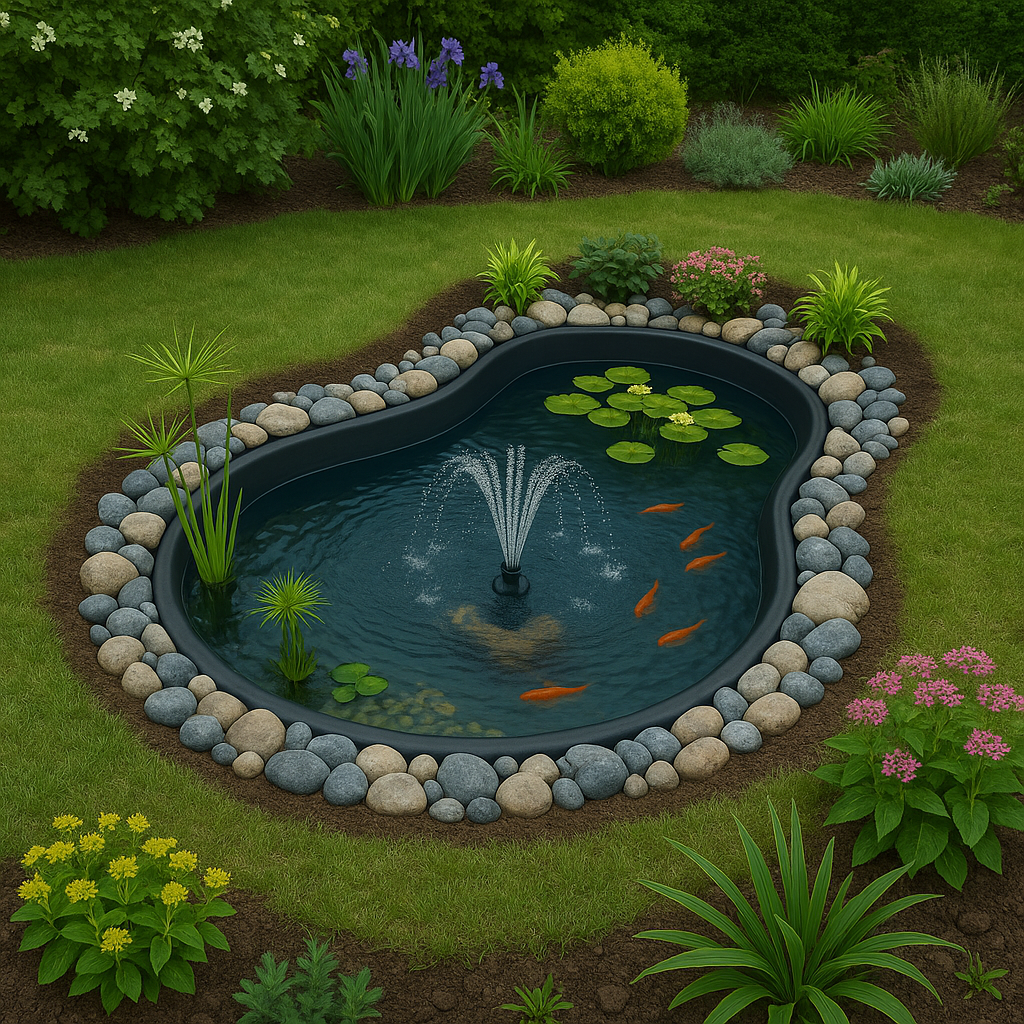
By following these steps, you’ll create a beautiful, eco-friendly garden pond powered by solar energy. Whether you choose a flexible liner or a pre-moulded pond, the addition of solar pumps and lighting makes your pond safer and easier to maintain. Enjoy the peaceful sounds of flowing water, the gentle glow of solar lights at night, and the lively presence of fish and plants in your new garden oasis.

The images shown are for illustration purposes only to help you visualize the process. Actual pond setups may vary based on your specific conditions and materials.

Pin This Post

“Small Garden Patio Design Ideas: 10 Cozy Layouts” Add it to your garden planning board and revisit when you’re ready to redesign!

Connect With Me!

I’d love to see what you’re growing!
Tag me on PinterestX, or Facebook with your patio garden setup, or share your favorite low maintenance plants.

Let’s swap ideas and inspire each other — one small garden at a time.

Similar Posts